6th place in Kaggle Reverse Game of Life Competition using pytorch and GPU compute
This article explains my solution to the Kaggle Competition: Reverse Game of Life 2020. We will go over the Game of Life itself, the competition description, and then a walk through of the code for my solution (all code is available on github here). The use of pytorch for GPU computation were essential to my approach. It was fun using pytorch for something other than neural networks!
What is Conway’s game of life?
In 1970, the late British mathematician John Horton Conway, who sadly left us only recently due to complications of COVID-19 in April of 2020, created a cellular automaton called the Game of Life which has inspired many scientists from a variety of disciplines such as computer science, complexity science, biology, physics, and others ever since its creation.
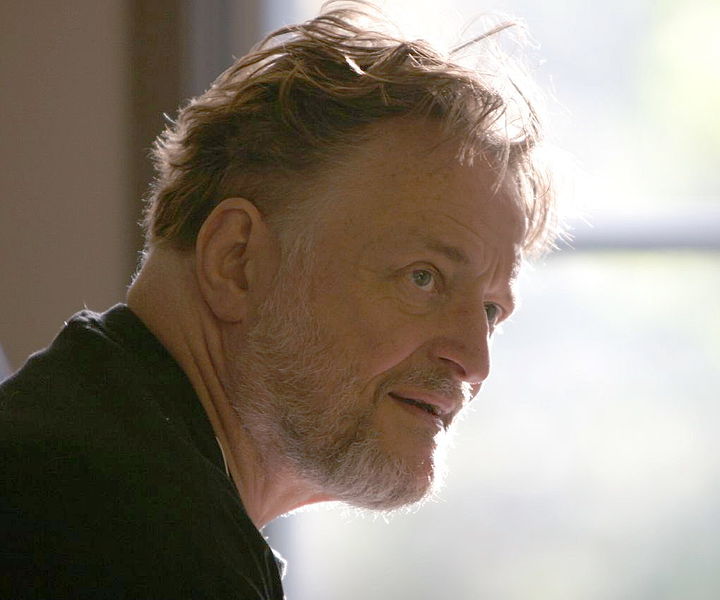
Mathematician John H. Conway. This image is from the Wikipedia article on “John Horton Conway” and authored by Thane Plambeck under license CC BY 2.0.
.jpg)
It consists of applying a set of simple rules to a grid where each cell is either dead or alive. The grid is updated each time step by these set of rules:
- If a cell is alive and there are exactly 2 or 3 alive neighbors (out of the 8 neighbors in its neighborhood), then the cell remains alive in the next time step.
- If the cell is dead and there are exactly 3 alive neighbors, then the cell becomes alive in the next time step.
- For all other cases, the cell is dead in the next time step.
The game of life can be initialized in any grid configuration of alive and dead cells. Typically, the grid is initialized randomly throughout the grid with a probability of a given cell being alive is set to 1/2.
When a cell is at the boundary, the definition of neighborhood is ambiguous. Some implementations of the game of life, use periodic boundary conditions which means that a cell will see the neighbor across the board as its neighbor. Another way to view the periodic condition is by imagining the grid tiled indefinitely throughout space. Then when you consider the 8-cell neighborhood, you will always have a full neighborhood. In this competition, the game of life is implemented with this periodic boundary condition.
The simulation below is the game of life running live within this browser. Blue cells are alive and black cells are dead. Each time step is applying the rules mentioned above.
Click anywhere to restart the game of life. This and all other game-of-life simulations in this post are modifications of the original “Game of Life” p5.js example by Daniel Shiffman licensed under CC BY-NC-SA 4.0.
The Game of Life is ridiculously simple to define. Yet as you can see above in the simulation, it produces interesting patterns over time that almost appear life-like — hence the name: Game of Life.
If your restart the game above (by clicking on the simulation), you will find that at later times you will see some patterns that keep showing up. Some have have been named by the research community such as the Glider and Blinker shown below.
The competition problem statement
Given only the final state of the game of life (on a 25x25 grid) and the number of time steps between the final and initial states, determine an initial state that when evolved forward in time according the rules of the game of life closely matches the given final state.
For instance, suppose we have the following sequence of grid states appearing in the game of life:
Click anywhere above to draw a new example.
The given state would be the last state or stop state at t=3. The other states are not given in the Kaggle test data set. The task is to find an initial state or start state at t=0 that would evolve forward in time to a state that is close to the given stop state.
It does not have to evolve to a state that is exactly the given stop state — it only needs to be close. The closeness between this evolved stop state and the given stop state is measured by the mean absolute error of the predictions across cells. Also, note that even if we are successful at finding a start state that evolves to the exact stop state, it is possible that this discovered start state does not match the true start state that was used originally. This is due to the fact that multiple states can lead to the same state by the nature of the Game of Life rules.
The number of time steps between the start and stop state, or also referred to as delta, varies from 1 to 5 throughout the test data set. The above example would be for an instance that has a delta of 3. There are roughly 10,000 instances in the test data set for each delta giving a total of 50,000 instances to solve.
Simulated Annealing
I used simulated annealing to solve this problem. Simulated annealing is a heuristic probabilistic method for approximating a global optimum. It is inspired by the annealing process in metallurgy, a method of heating and cooling in a controlled way to reduce a metal’s defects by slowly lowering the temperature of the metal as a method to converge to lowest energy state of metal.
The competition task is framed as an optimization problem. The cost function \(f(x)\) is the closeness of the stop state \(y\) using the guess \(x\) as our start state. \(x\) and \(y\) are matrices representing the grid where a single element is either \(0\) for dead and \(1\) for alive. The objective is to find the best \(x\) that minimizes \(f(x)\). The way simulated annealing works is by starting off with a guess for \(x\) and then considers a slightly different candidate solution \(x'\), then we throw away the worst of the two according to \(f\) with a certain probability \(p\). Then, we repeat this process for the picked one from the last iteration and call it \(z\) and produce another variant \(z'\), and we continue this process repeatedly until we get to a point where the cost doesn’t change much. Let’s now be more specific and define \(f\) and the probability \(p\) exactly.
The function \(f\) measures the closeness of our solution given by \(f(x) = \sum_{i,j} \vert y(x)_{i,j} - y^{true}_{i,j}\vert\) where \(y(x)\) is the evolved stop state from the start state \(x\) according the rules of the game of life. In other words, we just run the simulation of the Game of Life forward in time to get \(y\) from our start state \(x\).
To apply simulated annealing we need a way to modify \(x\) slightly to generate a new version \(x'\) with the hope that will generate a lower value of \(f(x)\). We will do this just by flipping a cell at random from alive to dead or dead to alive within \(x\) to create \(x'\). If the newly generated \(x'\) does produce a lower cost \((f(x') < f(x))\), then we keep \(x'\) and continue to the next iteration. Otherwise if \((f(x') >= f(x))\), then we accept the new state with a probability given by \(p = \exp(-(f(x)-f(x'))/T)\) where \(T\) is the temperature.
Speed up of simulation by pytorch and GPU

The evaluation of \(y(x)\), which is computed within \(f(x)\), is the computational bottleneck of the entire algorithm. The computation \(y(x)\) is nothing more than running the Game of Life simulation forward in time from state \(x\) to state \(y\). It turns out that this simulation can be done with about 40 lines of python by taking advantage of pytorch operations as shown below. The core computation is finding the total number number of alive neighbors around each cell. This can be done with a convolution pytorch operation that is primarily used for convolutional neural networks (CNNs).
import torch
import numpy as np
import matplotlib.pyplot as plt
import torch.nn.functional as F
from IPython.display import clear_output
import random


grid_shape = (25,25)
mask = torch.tensor([[1,1,1],
                     [1,0,1],
                     [1,1,1]]).type(torch.int)

# Initialize random grid
np_grid = np.random.randint(0, 2, grid_shape).astype(int)
grid = torch.from_numpy(np_grid).type(torch.int)

for i in range(20):
    # Apply game of life rules and update grid. sum_grid holds the total number
    # of alive neighbors around each cell. It is calculated by convolution!
    grid_padded = F.pad(grid.view(1,1,*grid_shape),(1,1,1,1), mode="circular")
    sum_grid = F.conv2d(grid_padded.view(1,1,grid_shape[0]+2, grid_shape[1]+2),
                       mask.view(1,1,3,3)).view(*grid_shape)
    cond_prev_alive = torch.logical_and(
        torch.logical_or(sum_grid == 2, sum_grid == 3),
        grid == 1)
    cond_prev_dead = torch.logical_and(
        sum_grid == 3,
        grid == 0)
    grid = torch.logical_or(cond_prev_alive, cond_prev_dead)
    grid = grid.type(torch.int)

    # Plotting
    clear_output(wait=True)
    plt.imshow(grid)
    plt.pause(0.02)
With this pytorch implementation, we can do two things to help us speed this part of the code: (1) use pytorch on GPU to speed up tensor operations like the convolution step and (2) run multiple simulations at once.
Running multiple simultaneous simulations is very similar to the way the convolution operation is used in CNNs where it applied to multiple layers of an image and/or multiple images at once. By breaking up the data set into 5 groups according to the time delta between start and stop states, it is possible to evolve thousands of simulations simultaneously if they shared the same time delta. By making these changes, it is possible to simultaneously solve multiple optimization problems for each given stop state in the data set.
You can find all the code here on github. To get the final score on Kaggle, I ran this code on a Nvidia GTX 1080 TI GPU for multiple days and restarted the code with slightly different temperature schedule within the simulated annealing algorithm.